DIY: Ribbon Rosette Brooches
My first time making rosettes! It was pretty easy. I made both of these in about 45 minutes once I had decided on the colors/materials.
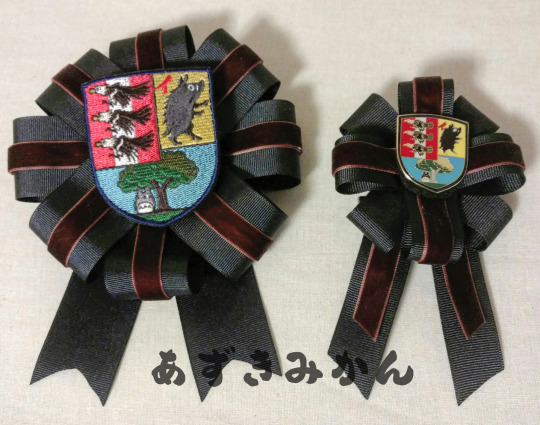
I visited the Ghibli Museum in 2014 and bought a bunch of things from their gift shop (the patch and the pin you see in the centers of the rosettes, among other things) and they had been sitting sealed in their wrapping ever since. I thought that was sad. Yes, they are precious and difficult to get but what’s the point of having them if you’re not going to wear them or have them out where you can enjoy them? So I decided to fix that when I suddenly found myself with a free ticket to the local Comic-Con. I am working on a Studio Ghibli + school + classic lolita coordinate to show off the Ghibli swag.
I used a tutorial I found on Youtube but took the extra step of adding a felt circle on the back and front to cover all the ribbons/make it look more finished, and get everything to stick together a bit more. There are 2-way pin backs on them that have a pin back and an alligator clip on a metal disc. If it were just a pin back I probably would have sewn it on. With all the different colors in the pin/patch design, I decided sticking with neutral ribbon colors was the best way to let the pin/patch shine. I used black grosgrain ribbon and brown velvet ribbon. The patch and pin are removable in case I want to transfer them to something else later. The rosette on the left is pretty big (~6 in/15 cm including the tails) and I will probably pin it to my bag. The smaller one will likely go on a hat.